Syndicated by One Source Media, Long Island City, New York
Perhaps one of the reasons why you bought an embroidery machine was to be able to add monograms to home decor and clothing items. That’s certainly a good reason. However, before you can monogram anything you will need to know how to set up a monogram file and get it onto your embroidery machine.
Fortunately there are a lot of ways to go about setting up a monogram, and it doesn’t require a lot of fancy and/or expensive software. In this post, I will walk you through three different ways to set up a monogram file and get your embroidery machine to stitch it out. And, you will be well on your way to monogramming just about everything!
Products mentioned in this post
What letters should make up a monogram? And, what order should they be in.
A classic monogram features the person’s first initial of the last name slightly larger and in the center between two other letters. The letter to the left should be the first initial of the person‘s first name, and the letter to the right should be the first initial of the person’s middle name.
If your monogramming something for a couple, the convention is to prominently display the shared last name initial largest in the center with the woman’s first initial on the left and the man’s first initial on the right. For same-sex couples I would imagine the order of the initials it doesn’t matter, but to be safe, I would ask the couple. Another tricky situation? Couples who don’t share a last initial. Again this may require some consultation with the couple for whom you are creating a monogram.
If I’m embroidering on a shirt cuff or a bow tie for a man, I often ignore monogram convention and just stitch out a man’s initials, in order, all the same size. I typically use a bold sans serif or a classic serif.
Monograms don’t always have to be comprised of three letters. Single initial monograms are lovely on home decor items. A single bold first initial can also be kind of fun and retro. (Think Laverne’s sweater on Laverne and Shirley)
Proportions and overlap
If you are setting up a traditional monogram file, you may wonder what the size difference should be between the letters. While there are no hard fast rules, I typically make the side letters about 75 to 80 percent of the center letter.
Depending on the chosen typeface, the stitching of the letters may overlap slightly. For example a very curly typeface might have loops and tails that crossover on top of each other. If the letters do overlap, be mindful of which letter you want to have on top. I would most likely stitch out the center letter last so that it will appear most in the foreground since it is the most dominant letter.
Setting up a monogram embroidery design
Ok – so once you figure out how you want to style the monogram and what order you want to stitching out the letters, you need to set up the monogram embroidery file and load it into your embroidery machine.
Method 1: create the monogram on the machine itself
Every embroidery machine has some built-in lettering capability. For example, my single needle embroidery machine has five different built-in typefaces. And, sometimes out of pure laziness and/or convenience, I create a monogram right in my embroidery machine interface.
On my machine, I simply navigate to the letter I want to use. I usually start with the left most initial. Then I add another letter to the design, typically the right initial. Then finally I add the center initial. The reason why I add the center letter last is because I want it to appear most in the foreground if there is any overlap.
Once I have all three letters on the screen, I adjust position and size individually. My machine has a feature that allows me to toggle through each one of the letters that I’ve put on the screen and change its position in scale. So I would move the left most initial over to the left, and the right most initial over to the right. Then, I would scale up the center initial so that the proportion looks correct. Once I am satisfied with the relative proportions and spacing of the letters, then I select all three letters and scale them appropriately.
Although this is a perfectly acceptable method for creating a monogram, the five built-in typefaces can get a bit old.
Method 2: Set up a monogram file in SewWrite
Another method of creating a monogram file is by using the very inexpensive software from S&S computing called SewWrite. For only $40, you get 70 pre-digitized typefaces, some of which make very good looking monograms. The benefit of working with pre-digitized alphabets is that the letters will stitch out nicely at any size.
All you have to do is type the three initials, then select the typeface you want to use. I played around with a few different typefaces but eventually settled on French Script MT.
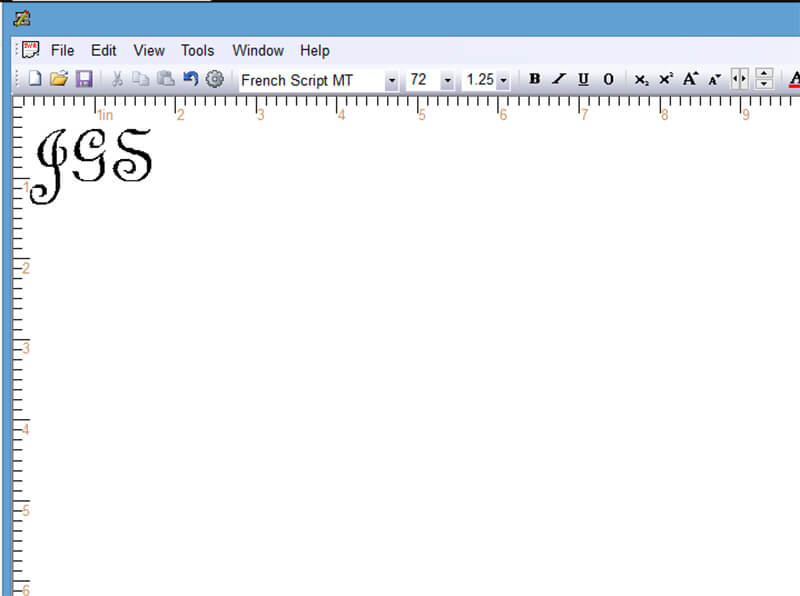
After I chose the typeface, then I modified the size of the letters so that they were all the size of what I ultimately wanted the center letter to be. Then, I selected the Large Mid, ctr option from the top down menu. This modified my text so that the center initial was larger than the other two.

Finally, I went back and selected both the left and right initial, and used the vertical kerning tool to nudge each of the letters up so that the centers of each of the letters are aligned.
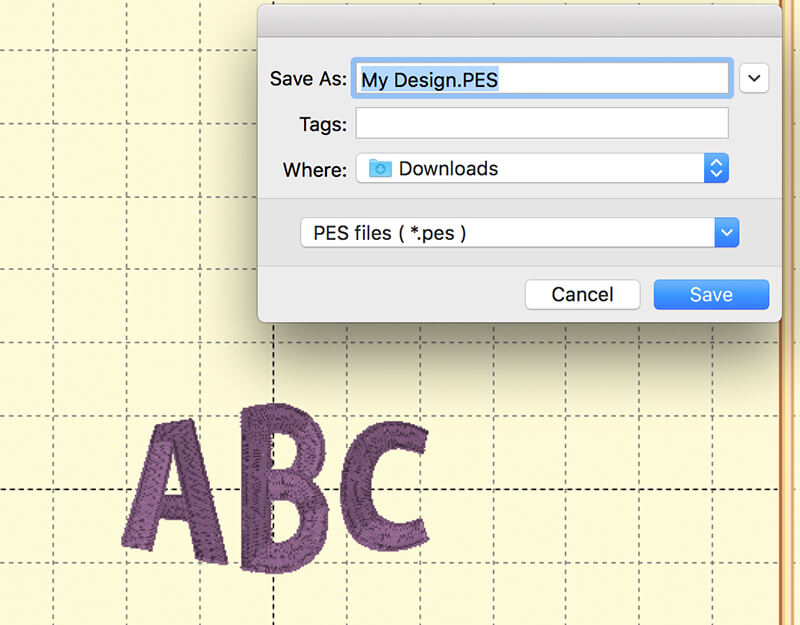
Finally, once you’re happy with your monogram, all you have to do is save it. Any time you save an embroidery file in SewWrite, it also saves a file in SWR format. SWR is a SewWrite native file format that you can reopen, edit and save out another embroidery file. So, in addition to the SWR file, I also generated an EXP file because it is the format my embroidery machine reads
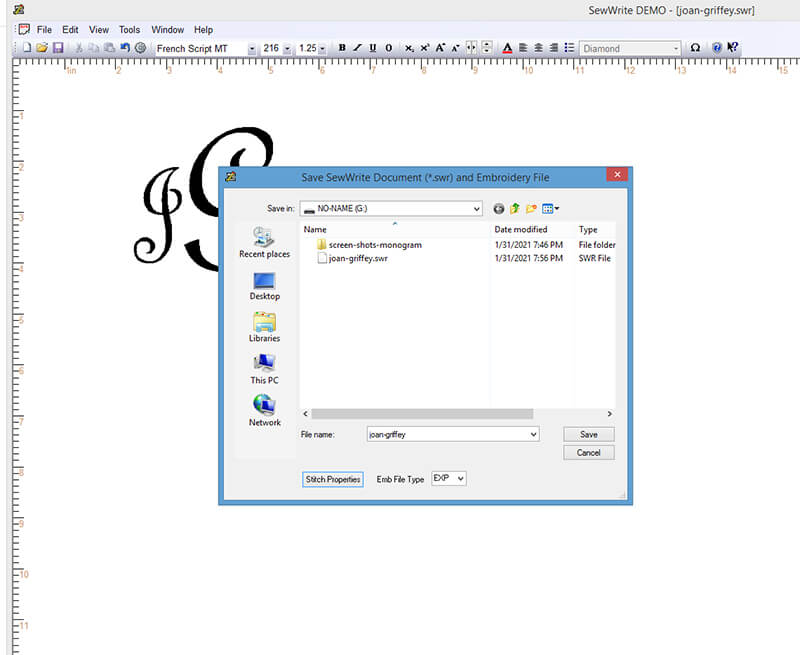
Once you get the monogram file created in the file format you need, you will then need to load it on your embroidery machine. Learn how to transfer an embroidery design onto your embroidery machine.
Method 3: Set up a monogram file Embrilliance Essentials
Embrilliance Essentials is the most bare bones software in the suite of applications made by Embrilliance. You can actually can get a FREE version of Embrilliance Essentials that works really well for setting up monogram files. The only catch is that there are not built in fonts like there are in SewWrite. The upside is, however, that Embrilliance reads BX fonts which you can purchase from most digitizers who sell embroidery fonts. Check out some of my favorite embroidery fonts for creating monograms.
BX fonts are really great because they many are SCALABLE and they open in Essentials. So instead of combining letters as embroidery files together one by one to spell a word, with BX fonts, you simply type the word or initials you want and then manipulate in the software. Learn more about what makes BX fonts so great and how you can work with them in Embrilliance.
To create a monogram file in Embrilliance Essentials, you simply load the BX font into the program. Then you select it and type out the initials in monogram order (first, last, middle). Finally, choose the modifier to distort the letters into the style that you want.
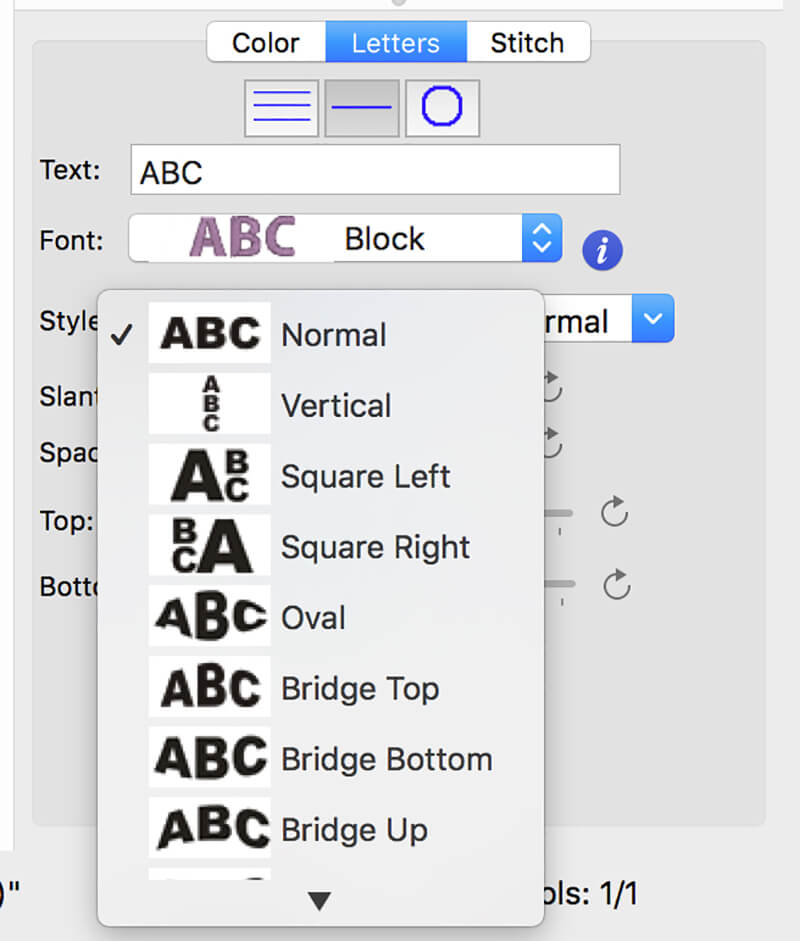
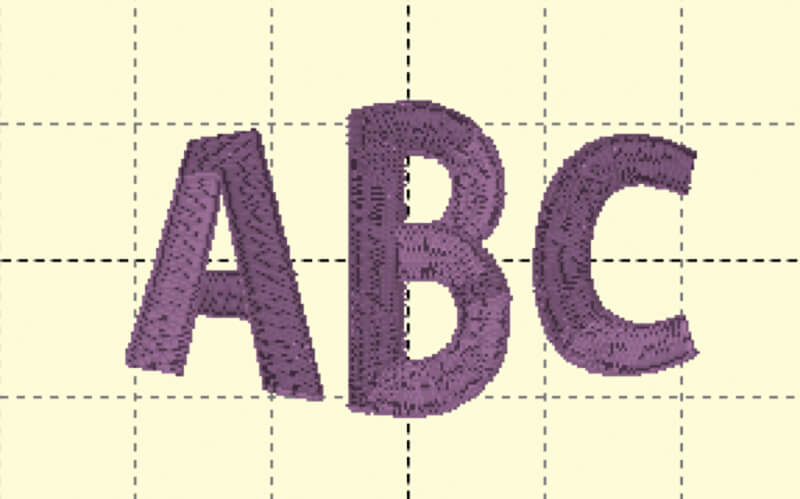
Once you have scaled and modified the letters to the desired size and shape, all you need to do is save the embroidery design in the file format you need.
Not bad, huh? You see there are many ways to go about creating a monogram. Now you can get started monogramming everything.
Happy stitching!
xo
Julie
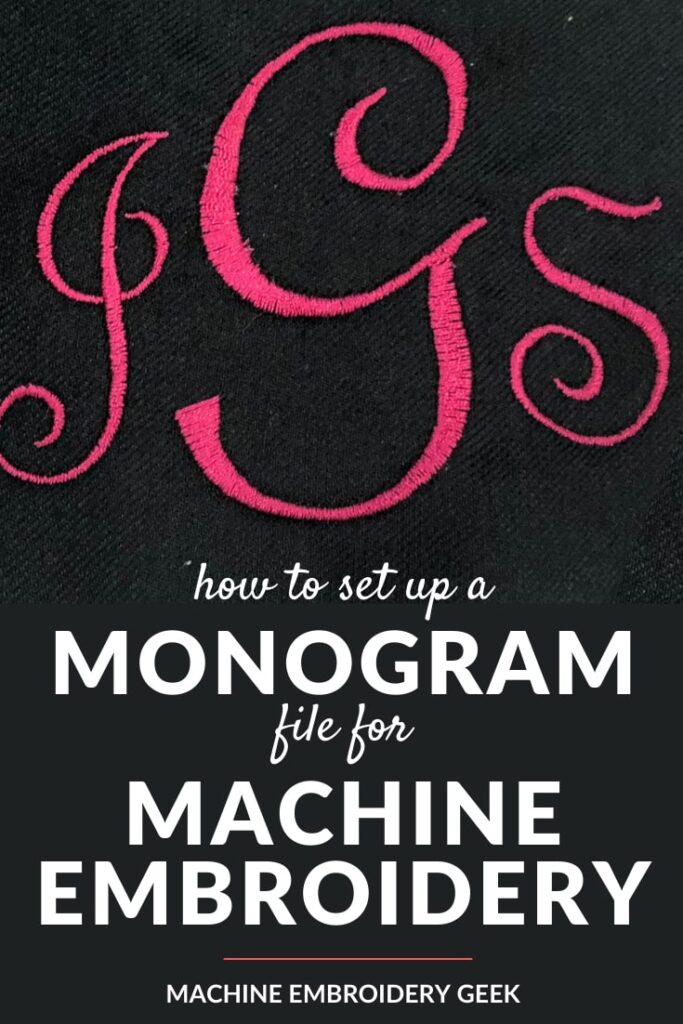
Want to remember this? Save “How to set up a monogram for machine embroidery” on your favorite Pinterest board
The post How to set up a monogram for machine embroidery appeared first on Machine Embroidery Geek.
* This article was originally published here
Find One Source Media on Google Maps: https://www.google.com/maps?cid=5313632701819553670
